
Lawn
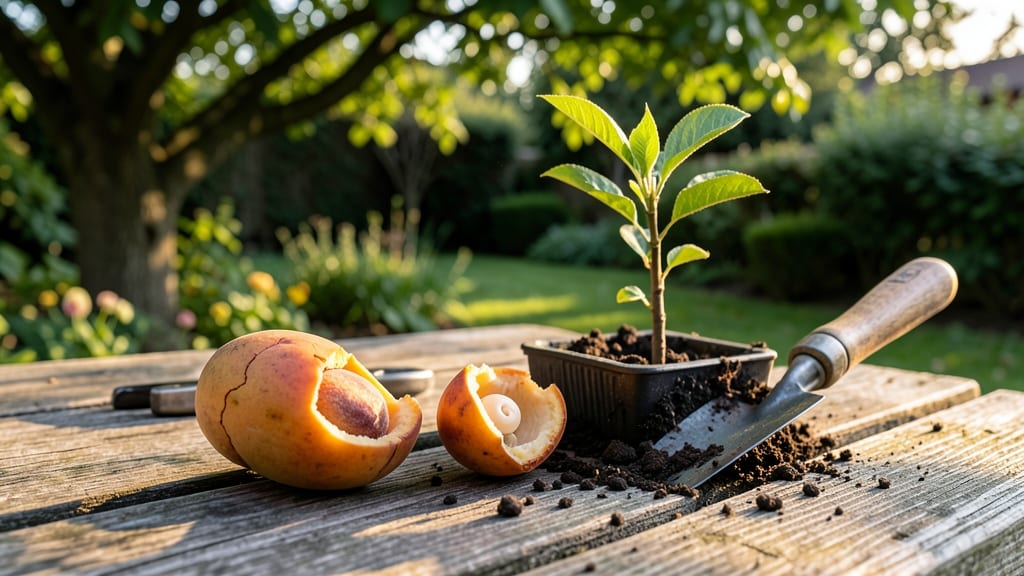
Do you have to crack a peach seed before planting? It can make the difference between a thriving 🍑 tree and weeks of waiting for a sprout that may never come.
You’ve probably heard that peach seeds need scarification, but what does that really mean? The truth is, the seed’s tough outer shell can block water and oxygen, slowing germination or stopping it entirely. Without a little help, your seed might just sit there—waiting for a miracle that never arrives.
This guide breaks down the science behind peach seed germination, so you know exactly when to crack the seed and when you can skip it.
We’ll also cover the fastest methods for getting your seed to sprout, whether you’re planting outdoors in USDA Zone 6a or starting indoors for a head start.
Ready to grow a peach tree the fast way? Let’s dive into the steps that work—and the mistakes that slow you down.
The science behind peach seed germination: why cracking matters (or doesn’t)
Peach seeds, like many stone fruits, have a hard seed coat that acts as a natural barrier. This protective layer serves an important purpose—it helps seeds survive harsh conditions and prevents premature germination.
However, this same trait can also delay or even prevent sprouting when you’re eager to grow your own peach tree. The question of whether to crack a peach seed before planting hinges on understanding seed dormancy and the role of mechanical scarification.
Scientifically speaking, peach seeds exhibit physical dormancy, a condition where the seed coat blocks water and oxygen from reaching the embryo. Without intervention, this can lead to low germination rates—sometimes as low as 10-20%—even under ideal growing conditions.
The good news? You can break dormancy through methods like scarification, which involves cracking or nicking the seed coat to allow moisture and air to penetrate.
But here’s the catch: not all peach seeds need cracking. Fresh seeds, especially those harvested from ripe fruit, may already have a slightly compromised coat due to natural aging or handling. Older seeds, on the other hand, often develop a thicker, more impermeable shell over time.
This is why seed age and storage conditions play a critical role in determining whether scarification is necessary.
| Seed Condition | Cracking Needed? | Germination Rate | Best Method |
|---|---|---|---|
| Fresh seed (harvested ≤3 months ago) | Sometimes | 60-80% | Soak in water 24 hours first |
| Old seed (6+ months stored) | Yes | 20-40% (without cracking) | Lightly file or sandpaper coat |
| Dried seed (low moisture) | Yes | 10-30% | Soak 48 hours + crack |
| Seed with visible cracks | No | 70-90% | Plant directly in moist soil |
The process of cracking a peach seed is called mechanical scarification, and it mimics natural conditions where seeds might be damaged by wildlife or weather. When you nick or file the seed coat, you’re essentially giving the embryo a head start by allowing water to penetrate more easily.
Studies show that scarified peach seeds can achieve germination rates of 70-90%, compared to just 10-30% for unscarified seeds in some cases.
However, cracking isn’t always the answer. Over-scarifying can damage the embryo or expose it to fungal infections. The key is to create a small, controlled crack—just enough to break the seal without compromising the seed’s integrity.
Think of it like opening a sealed jar: you want to let the contents out, but you don’t want to shatter the container entirely.
Another factor to consider is seed stratification, a natural process that mimics winter conditions. Some gardeners combine scarification with a cold stratification period (4-6 weeks in the fridge) to further break dormancy.
This two-step approach can be especially effective for older or particularly tough seeds, mimicking the slow, natural breakdown that occurs in the wild over time.
If you’re still unsure whether to crack your peach seed, start with a test batch. Plant a few cracked seeds and a few uncracked ones side by side in the same conditions.
Monitor their progress over 4-6 weeks—the results will give you clear feedback on whether scarification was necessary for your specific seeds. This hands-on approach not only answers your question but also teaches you more about the unique characteristics of your peach seeds.
Remember, the goal isn’t just to germinate a seed—it’s to grow a healthy, vigorous peach tree. By understanding the science behind seed dormancy and the role of the seed coat, you’re setting yourself up for success.
Whether you crack or don’t crack, patience and observation are your best tools in the garden. 🌱
Step-by-step guide: how to crack a peach seed for faster germination (if needed)
Cracking a peach seed—also called scarification—can dramatically improve your germination success rate by breaking the thick outer shell. This step mimics natural weathering, helping water and oxygen reach the embryo inside.
However, not all peach seeds need this treatment. Let’s explore when and how to crack yours for the best results.
Before you begin, check your seed’s condition. If it’s fresh, plump, and unblemished, it may not require cracking. But if it’s dry, shriveled, or stored for over a year, scarification can be your best friend.
Use this guide to determine if your seed needs a little help—and how to do it safely.
How to Crack a Peach Seed: Step-by-Step
- Step 1: Extract the seed from the pit carefully. Use a knife to slice open the peach and remove the large, brown seed inside. Rinse it under water to remove any fruit residue.
- Step 2: Inspect the seed’s outer shell. Look for a hard, glossy coat—this is your target for cracking. If the shell is already cracked or damaged, skip to soaking (Step 4).
- Step 3: Choose your cracking method:
- File or Sandpaper: Gently rub the seed’s flat side with a fine-grit file or sandpaper until you see a thin line or slight rough texture.
- Knife or Scissors: Make a shallow cut (about 1/8 inch deep) along the seed’s edge using a sterilized knife or scissors.
- Step 4: Soak the seed in lukewarm water for 12–24 hours. This hydrates the seed and prepares it for planting. Change the water halfway if it becomes cloudy.
- Step 5: Place the seed between a damp paper towel and another towel. Fold and secure with a rubber band. Store in a ziplock bag in the fridge for 4–6 weeks (cold stratification) to simulate winter conditions.
- Step 6: After stratification, check for a small white root (radicle). Once you see this, it’s ready to plant in well-draining soil or a seed-starting mix.
If you’re short on time, skip stratification and plant the soaked, cracked seed directly in moist potting mix. Keep it in a warm, sunny spot (70–80°F) and maintain consistent moisture. Germination typically takes 2–4 weeks, but cracked seeds often sprout faster than uncracked ones.
Pro tip: Label your seeds and track their progress. Some peach seeds may take up to 3 months to germinate, especially if they’re older. Patience is key—don’t give up if you don’t see immediate results.
With the right care, your cracked seed could grow into a healthy peach tree in just a few years!
Remember, cracking isn’t always necessary, but it eliminates guesswork and speeds up the process. For extra insurance, combine scarification with warmth and moisture—your seed’s dream germination conditions. Happy planting! 🌱