
How To
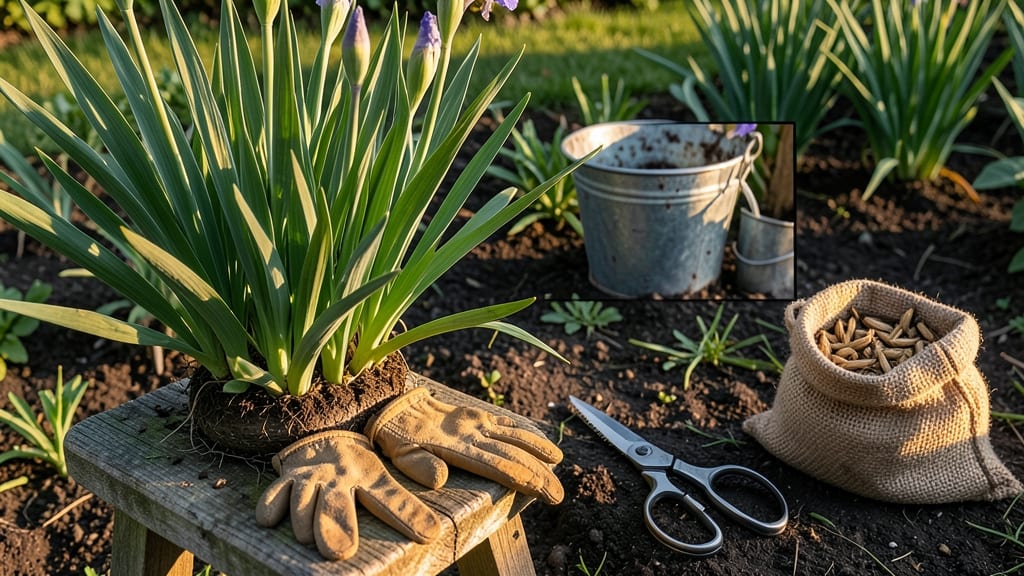
Removing iris seed pods at the right time ensures your 🌸 irises stay vibrant and healthy, so timing matters more than you might think.
Picture this: you’ve just admired your irises’ stunning blooms, only to be met with a crop of unsightly seed pods that drain energy from your plants. The question isn’t just if to remove them—it’s when.
Too early, and you risk stunting new growth; too late, and you invite self-seeding chaos or weakened rhizomes.
Here’s the key: wait until the pods turn brown and dry—usually mid-to-late summer—before snipping them off. This simple cue tells you the seeds are mature, and the plant’s energy can finally focus on next year’s blooms instead of supporting unwanted seedlings.
Below, I’ll walk you through the exact signs to watch for, step-by-step removal tips, and what happens if you skip this step. No more guesswork—just healthier irises and a cleaner garden bed.
Key signs your iris seed pods are overripe and ready for removal
Iris seed pods can be tricky—remove them too early, and you waste viable seeds. Leave them too long, and your plant’s energy gets drained. The key is knowing the exact visual and tactile cues that signal they’re ready for removal.
These signs ensure you’re not cutting too soon or too late, which helps your irises rebloom vigorously next season.
Timing matters because overripe pods deplete the rhizome’s stored energy, reducing next year’s flower production. Plus, dried pods can become unsightly in your garden beds and attract pests. By learning these three critical indicators, you’ll know precisely when to act for optimal plant health and garden aesthetics.
First, observe the color transformation from vibrant green to a dull, papery brown. This shift means the seeds inside have fully matured and the pod’s purpose is complete. Second, check the texture—ripe pods feel lightweight and brittle, almost like dried paper, while unripe ones stay firm and heavy.
Finally, look for natural splitting along the pod’s seams. When pods begin to open on their own, seeds are ready to disperse, and it’s time to remove them before they scatter across your garden. These visual cues work together to give you a clear green light for removal.
Comparison Table: Ripe vs. Unripe Iris Seed Pods
| Sign | Unripe Pods | Ripe Pods |
|---|---|---|
| Color | Bright green | Dull brown |
| Texture | Firm and moist | Dry and brittle |
| Weight | Heavy | Lightweight |
| Structure | Closed and intact | Splitting open |
| Action | Leave on plant | Remove immediately |
If you’re still unsure, perform the gentle squeeze test. Squeeze a pod between your fingers—if it crushes easily and feels hollow, it’s ready. Unripe pods will resist and feel springy. This tactile check is especially useful when color changes are subtle due to shade or variety differences.
Seasonal timing also plays a role. In most climates, iris seed pods mature between late summer and early fall, typically August through September. Removing them before first frost ensures you don’t accidentally prune new growth in spring.
Pro tip: Mark your calendar after your irises bloom to track the 8-12 week maturation period.
For gardeners who want to save seeds, remove pods just as they begin splitting. Place them in a paper bag to catch falling seeds, then store in a cool, dry place until ready to sow.
If you’re not saving seeds, removing overripe pods redirects energy back to the rhizome, promoting stronger roots and more flowers next season.
One common mistake is waiting until pods are completely dried and crumbly. By then, seeds may have already scattered, and the plant has lost valuable nutrients.
The goal is to act at the first sign of browning—this is when pods are most mature but least disruptive to your iris’s health.
Remember, healthy irises are low-maintenance once established, but this small task makes a big difference. By mastering these visual and tactile cues, you’ll keep your garden looking tidy while ensuring your irises thrive for years to come. 🌸
Step-by-step guide to safely removing iris seed pods without damaging the plant
Now that you’ve identified your iris seed pods are ripe, the next step is removing them without stressing your plant. The process is simple, but using the right tools and techniques ensures your irises stay healthy and ready to bloom again next season.
I’ve pruned hundreds of iris plants, and I’ve learned that precision matters—especially when dealing with delicate rhizomes.
Start by gathering your tools: a pair of clean, sharp pruners (sterilized with rubbing alcohol to prevent disease), a small paper bag for seed collection (if saving seeds), and a pair of gardening gloves to protect your hands.
Work on a dry, sunny day when the pods are fully mature but before they scatter seeds everywhere. This timing minimizes stress on the plant and keeps your garden tidy.
Step-by-Step Guide to Removing Iris Seed Pods
- 1 Locate the seed pods: Identify the brown, dry pods attached to your iris stems. Focus on pods that have turned papery and brittle—these are ready for removal.
- 2 Grip the pod firmly: Hold the pod just below the base where it attaches to the stem. Use your thumb and forefinger to avoid crushing the stem.
- 3 Snip with clean pruners: Make a single, clean cut at a 45-degree angle about ¼ inch above the pod’s base. This prevents water from pooling on the stem, reducing rot risk.
- 4 Collect seeds (optional): If saving seeds, place the pod in a paper bag and let it dry indoors for a few days. Shake the bag gently to release seeds into a labeled envelope for storage.
- 5 Dispose of pods: If not saving seeds, toss the pods in your green waste bin or compost pile. Avoid leaving them on the ground, as they can self-seed and create unwanted iris volunteers.
- 6 Inspect the plant: After removing all ripe pods, check the stems for any remaining green or firm pods. Leave these alone—they’re not ready yet.
- 7 Clean up debris: Use a small rake or your hands to remove any fallen pods or seeds from the soil surface. This keeps your garden neat and pest-free.
For bearded iris varieties, which are the most common, this process is straightforward. However, siberian irises or Japanese irises may require slightly more caution. Their seed pods can be more delicate, so handle them with extra care to avoid damaging the thin stems.
If you’re unsure about your iris type, a quick online search or consultation with your local nursery can clarify the best approach.
After removal, your iris plants will redirect energy to the rhizomes, resulting in stronger roots and more vigorous blooms next season. To further support your irises, apply a light layer of compost around the base and water deeply but infrequently.
Avoid overwatering, as soggy soil can lead to rhizome rot, especially in humid climates.
One final tip: If you notice any yellowing leaves or soft rhizomes after pruning, your plant may be stressed. In this case, reduce watering slightly and ensure it’s getting full sun and well-draining soil. With proper care, your irises will reward you with stunning blooms year after year. 🌸