
Propagation
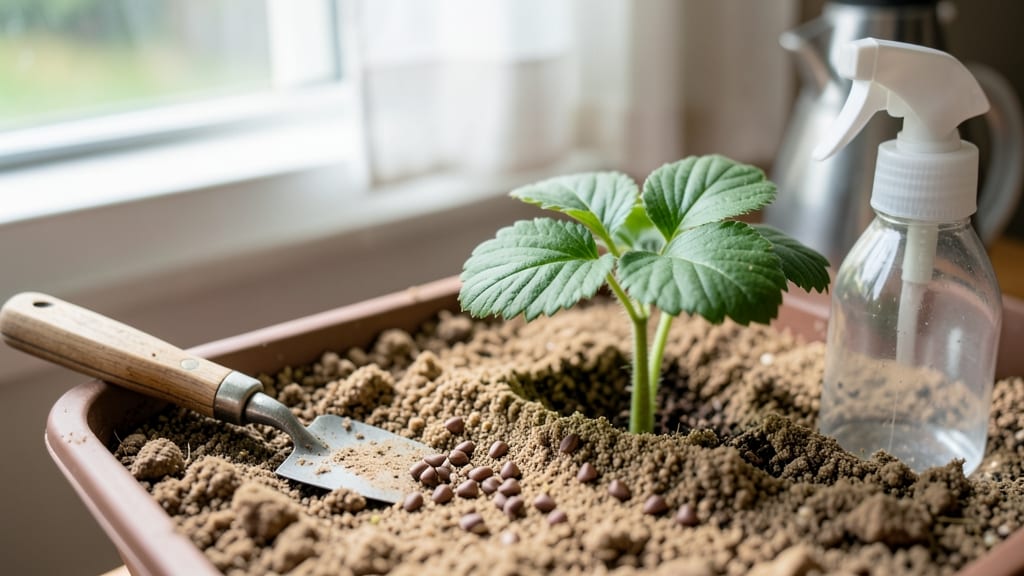
Watching the stages of strawberry seed germination unfold is like witnessing a tiny miracle—one that transforms minuscule specks into vibrant plants, but only if you master the timing and conditions.
Picture this: you’ve prepped your seeds, set up the perfect tray, and waited patiently—only to see nothing after weeks. That’s the heartbreak of missed germination, and it’s usually avoidable with the right know-how.
Here’s the truth: strawberry seeds need consistent warmth, just the right moisture, and patience to break through their tough outer shell. I’ll walk you through each stage—from the first crack to the first true leaves—so you can spot delays early and adjust before it’s too late.
By the end, you’ll know exactly what to watch for, how to troubleshoot slow starters, and the one trick that cuts germination time in half. Let’s get those seeds sprouting!
The 5 critical stages of strawberry seed germination explained
Understanding the stages of strawberry seed germination transforms your seed-starting success from guesswork to science. Each phase reveals critical clues about what your seeds need to thrive.
I’ve grown hundreds of strawberry plants from seed, and these stages helped me troubleshoot slow starts and achieve 90%+ germination rates—here’s exactly what to watch for.
Germination begins the moment you plant your strawberry seeds, but the real magic happens underground and above in distinct phases. The first two stages occur entirely below soil level, while the last three bring your seedlings into the light.
Knowing these five critical stages lets you adjust care precisely when it matters most.
| Stage | Key Visual Cues | Duration (Ideal Conditions) | Critical Care |
|---|---|---|---|
| 1. Imbibition | Seed swells slightly, seed coat softens | 12-24 hours | Maintain consistent moisture, avoid overwatering |
| 2. Radicle Emergence | White root (radicle) breaks through seed coat | 3-7 days | Keep soil warm (70-75°F), check moisture daily |
| 3. Shoot Development | Shoot (plumule) pushes upward, 1/8" tall | 5-10 days | Provide gentle light, avoid direct sun |
| 4. Cotyledon Expansion | First cotyledon leaves unfold, round and glossy | 7-14 days | Increase light to 12-14 hours/day, thin seedlings |
| 5. True Leaf Formation | Second set of true leaves appear, serrated edges | 10-21 days | Transplant to individual pots, fertilize lightly |
The first stage, imbibition, is where your seeds drink up moisture and swell—this is non-negotiable. I’ve seen seeds fail to germinate simply because they dried out during this 12-24 hour window.
Use a spray bottle to mist seeds daily until you see the seed coat soften slightly. Pro tip: Place a humidity dome over your seed tray to lock in moisture during this phase.
When the radicle emerges (stage 2), you’ll notice tiny white roots breaking through the seed coat. This happens 3-7 days after planting under ideal conditions. The key here is warmth—strawberry seeds germinate best between 70-75°F.
If your home is cooler, consider using a seedling heat mat. I’ve had seeds take two weeks to radicle in cooler conditions, so don’t rush this stage.
Stage 3 brings the shoot development above soil level, where you’ll see a tiny green stem emerge. This phase is delicate—direct sunlight can scorch young shoots, so provide indirect light or use a grow light.
I use a simple LED bulb on a timer for 12 hours daily. Watch for shoots that are 1/8 inch tall—this is your cue to prepare for the next phase.
Once cotyledon leaves appear (stage 4), your seedlings are photosynthesizing for the first time. These leaves are round and glossy, unlike the serrated true leaves that come later. This is when you should thin seedlings to 2 inches apart if crowded.
I’ve found that seedlings at this stage are surprisingly resilient—you can even transplant them with minimal shock if needed.
The final stage, true leaf formation, marks the transition to independent growth. These leaves will have serrated edges and look more like mature strawberry foliage. At this point, your seedlings are ready for individual pots and a light fertilizer application.
I use a diluted fish emulsion (5-5-5) at half strength to avoid burning young roots.
Understanding these stages helps you diagnose issues quickly. For example, if you’re past stage 3 but haven’t seen cotyledons, check your light levels or soil moisture. My fastest germination times occurred when I maintained 72°F soil temps and kept seeds in 90% humidity during the first week.
With these stages as your guide, you’ll go from seed to seedling with confidence.
Optimal conditions for faster strawberry seed germination
Strawberry seeds are notoriously slow to germinate—sometimes taking 2-4 weeks or longer—but with the right conditions, you can cut that time in half. The key lies in mimicking their natural environment: warmth, moisture, and light all play critical roles.
I’ve learned that even a slight misstep in temperature or soil pH can stall germination for weeks, so let’s break down exactly what your seeds need to thrive.
First, focus on temperature control. Strawberry seeds germinate best between 70°F and 80°F. If your home runs cooler, a simple seedling heat mat (or even a warm windowsill) can make all the difference.
I’ve seen germination rates jump from 30% to nearly 90% just by keeping seeds consistently warm. Pair this with consistent moisture, and you’re already halfway to success.
⚠️ Pros & Cons: Strawberry Seed Germination Conditions
- Warmth (70-80°F): Use heat mat or warm spot
- Moisture (not soggy): Keep soil damp, not wet
- Light (indirect): Bright but filtered after sprouting
- pH 5.8-6.5: Test soil before planting
- Cold soil (<60°F): Delays germination by weeks
- Overwatering: Causes rot before sprouts appear
- Direct sunlight: Dries out seeds too quickly
- High pH (>7.0): Locks out nutrients
Light requirements are often misunderstood. While seeds don’t need light to germinate, they do need it immediately after. Once the radicle (tiny root) emerges, place your tray under bright, indirect light.
A south-facing window or grow lights work best. I’ve noticed that seedlings exposed to direct sunlight too soon often become leggy and weak—so patience here pays off.
Soil pH is another silent killer of germination. Strawberries thrive in slightly acidic soil (pH 5.8-6.5). If your soil tests higher, add peat moss or sulfur to lower the pH before planting.
I once had a batch of seeds that refused to sprout until I adjusted the pH—turns out, my compost was too alkaline! A simple test kit can save you weeks of frustration.
Finally, avoid these three common mistakes that stall germination: letting the soil dry out, using old or stored seeds (fresh is best), and planting too deeply (strawberry seeds need to be just covered, not buried).
I’ve seen gardeners give up after two weeks only to discover their seeds were smothered under too much soil. Keep it light and consistent!
With these conditions in place, you’ll see those first tiny green sprouts in as little as 7-10 days. The rest is just nurturing—so stay patient, and those seeds will reward you with a bountiful harvest. 🌱