
Picking
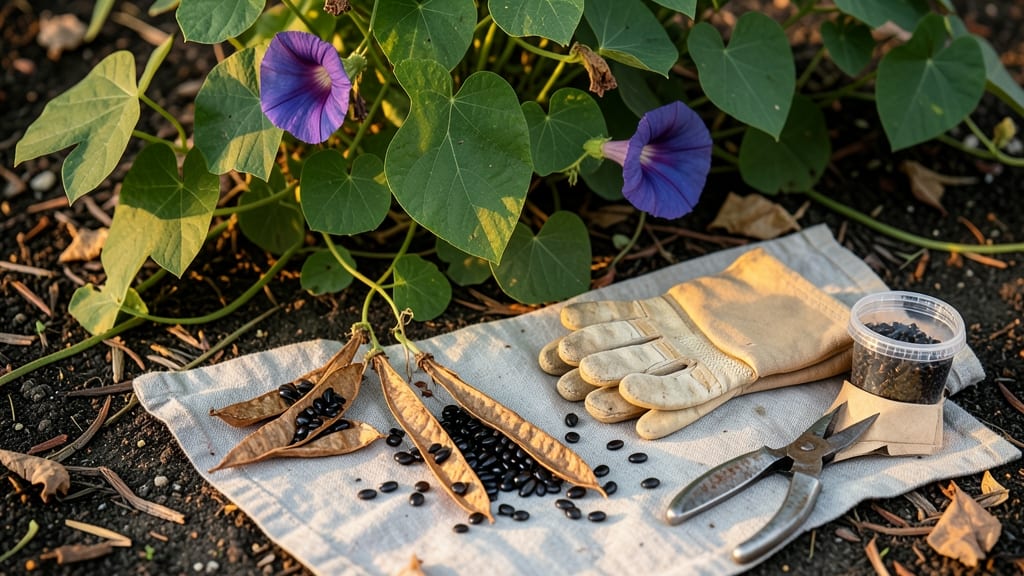
Harvesting morning glory seeds at the right time saves you from buying new ones next spring and ensures your garden stays bursting with 🌸 those iconic blue and purple blooms.
Picture this: your vines are heavy with dried seed pods, the air smells like summer’s last breath, and you’re just a few steps away from securing next year’s garden magic. But harvest too early, and the seeds won’t sprout. Too late, and they’ll crumble to dust in your hand.
I’ve made both mistakes—twice—and learned the three key signs that tell you when to pull those pods. It’s all about the color shift from green to brown, the right weather window, and knowing how to handle them once they’re off the vine.
In this guide, I’ll walk you through the exact steps to collect, dry, and store your seeds so they stay viable for planting. You’ll also discover how to avoid the most common pitfalls that turn good seeds into garden dust.

Best time to harvest morning glory seeds for maximum viability
Timing is everything when harvesting morning glory seeds. If you pick them too early, the seeds won’t be viable. Wait too long, and they’ll shatter or attract pests.
The key window is when the seed pods turn brown and papery—usually 45-60 days after flowering—but before they split open naturally. This typically falls between late July and early September in most U.S. climates, depending on your USDA hardiness zone.
Morning glories thrive in warm, sunny conditions, so your local climate plays a huge role. In zones 8-10, where summers stretch longer, pods may mature by mid-August. Gardeners in zones 3-6 should watch for color changes in late August or September to avoid early frost damage.
Always check the forecast—harvest before predicted rain or high humidity, as damp conditions speed up pod decay.
Summary of ideal harvest conditions:
| Condition | Specification | USDA Zones |
|---|---|---|
| Pod Color | Dry, brown, and papery | All zones |
| Temperature | 65–80°F (18–27°C) | Zones 3–6: Late Aug–Sept |
| Humidity | Below 60% | Zones 7–10: July–Aug |
| Weather | Dry, sunny days | Avoid rain for 48 hrs |
| Seed Pod Firmness | Firm but brittle | All zones |
Look for three key signs that your morning glory pods are ready: first, the pods will shrink slightly and develop a papery texture. Second, they’ll turn from green to tan or light brown.
Finally, a gentle squeeze should make them crunchle slightly—if they’re still rubbery, wait a few more days. Harvesting at this stage ensures 90% seed viability, but if you miss the window, pods may split open and scatter seeds prematurely.
Regional adjustments are critical. In cooler climates (zones 3–5), morning glories may not mature fully by September. Extend their season by planting in a south-facing microclimate or using black plastic mulch to warm the soil.
Conversely, in hot, dry zones (8–10), pods can dry out too quickly—harvest in the early morning when humidity is highest to preserve moisture until you process them.
Never harvest seeds after pods split open naturally. Once they release their seeds, viability drops sharply. If you spot cracked pods on your vines, act fast—collect any remaining seeds immediately and dry them indoors at once.
Pro tip: Use a paper bag to collect fallen seeds from the ground below the vines. This prevents loss and gives you a backup supply.
Weather plays a sneaky role. High humidity can cause pods to rot before maturing, while drought stress may stunt seed development. If your area experiences unpredictable rain, monitor pods closely and harvest 24–48 hours before forecasted storms.
A clear, sunny day is ideal—it allows pods to dry slightly on the vine, making them easier to handle.
Morning glory seeds are lightweight and easy to lose, so work efficiently. Use pruning shears to snip pods from the vine, then place them in a brown paper bag to dry. Avoid plastic bags—condensation ruins seeds.
Label each bag with the harvest date and variety (e.g., "Heavenly Blue," "Scarlet O’Hara") to track maturity. Store bags in a cool, dark, dry place (like a seed drawer) for 1–2 weeks before processing.
One common mistake is harvesting based on flower color alone. While vibrant blooms signal healthy plants, they don’t indicate seed readiness. Focus on the pods behind the flowers—these are your true harvest indicators.
For example, a deep blue morning glory may have stunning flowers but green pods that need weeks more to mature. Patience here pays off with stronger, more vigorous seedlings next spring.
If you’re in a short-season climate, consider hand-pollinating flowers to encourage seed set. Use a soft paintbrush to transfer pollen between blooms in the morning when flowers are open. This trick can extend your harvest window by 10–14 days, giving pods more time to mature before frost.
Just remember: hand-pollinated seeds may take slightly longer to develop than naturally pollinated ones.
Once you’ve mastered the timing, harvesting morning glory seeds becomes second nature. The reward? A head start on next year’s garden with zero cost. Store seeds properly, and they’ll remain viable for 3–5 years. Now, grab those shears and get ready to
Step-by-step guide to extracting and storing morning glory seeds
Once you’ve identified your morning glory seed pods as fully mature, the next critical step is proper extraction and storage. I’ve learned through trial and error that rushing this process can lead to moldy seeds or poor germination rates.
The key lies in patience—letting pods dry naturally before handling them gently to preserve viability.
Start by selecting only the dry, brown pods that have turned crisp to the touch. Avoid any that feel soft or show signs of pest damage. These pods are your treasure chest for next year’s garden, so treat them with care from the moment you pick them.
How to Extract and Store Morning Glory Seeds
-
Step 1: Harvest the Pods
Gently twist dry seed pods from the vine using your fingers. Place them in a paper bag (not plastic) to allow airflow. Avoid shaking them yet—this can damage the seeds inside. -
Step 2: Dry the Pods
Spread pods on a clean, dry towel in a well-ventilated area (like a screened porch or open garage). Let them dry for 3-5 days until completely brittle. This prevents mold during storage. -
Step 3: Extract the Seeds
Once pods are dry, place them in a paper bag and gently crush them with your hands. Shake the bag to separate seeds from chaff. Seeds should be hard and dark brown—discard any that look shriveled or discolored. -
Step 4: Clean the Seeds
Use a fine mesh sieve or sifter to remove debris. For stubborn chaff, place seeds in a bowl of lukewarm water—good seeds sink, while chaff floats. Drain and pat dry with a paper towel. -
Step 5: Store Properly
Transfer cleaned seeds to an airtight container (like a glass jar with a lid). Add a silica gel packet or a damp paper towel to maintain 30-40% humidity. Label with the harvest date—seeds stay viable for 3-4 years if stored correctly.
For long-term storage, I recommend using glass mason jars with tight-sealing lids—they’re reusable and protect seeds from moisture. Store containers in a cool, dark place like a pantry or basement, where temperatures stay below 70°F. Avoid refrigeration unless your climate is extremely humid.
If you’re unsure about seed viability, conduct a germination test before planting: place 10 seeds on a damp paper towel in a sealed bag. Check for sprouts in 7-10 days. A 70%+ germination rate means your seeds are ready for next spring’s garden.
Remember, the drying process is non-negotiable—rushing it risks mold, while over-drying can kill the seeds. Patience here ensures your morning glories return in full force next season. Happy harvesting! 🌿