
Plants
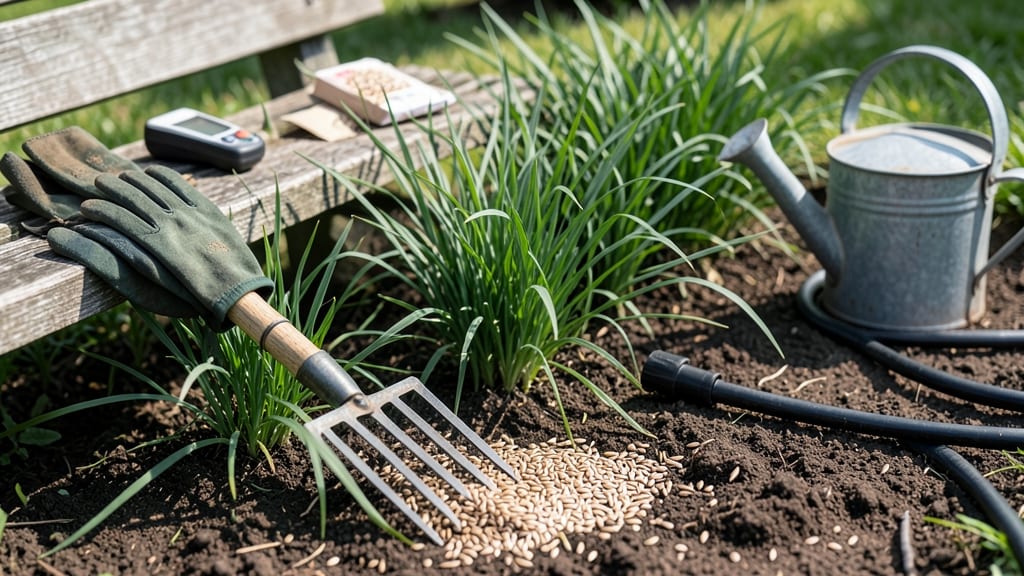
Planting Bahia grass seed in Florida during late summer 🌿 is the secret to a lawn that stays green through droughts and heatwaves.
Struggling to keep your Florida lawn lush and drought-resistant? Planting Bahia grass seed at the perfect time can mean the difference between a patchy yard and a vibrant, deep-rooted turf that thrives year-round.
Most gardeners rush to plant in spring, but Florida’s heat and humidity demand a different approach. Late summer—when temperatures start cooling slightly—gives seeds the ideal chance to germinate before the first frost risk (yes, even in Florida’s northern zones).
Below, I’ll break down the exact window (August–September), soil prep tricks, and how to protect your new grass from Florida’s summer pests—so you can enjoy a resilient lawn without the guesswork.
Optimal Bahia grass planting timeline in Florida: late summer’s critical window explained
If you’ve ever struggled with patchy Bahia grass lawns in Florida, timing is your secret weapon. The late summer window (August–September) offers the perfect balance of soil warmth and rainfall to kickstart deep root growth before cooler months.
Unlike northern states, Florida’s frost-free climate means you can plant year-round—but late summer gives seedlings a fighting chance against hurricane season and wildlife interference.
North Florida (Zones 8a–9a) faces rare but possible light frosts in December, while Central (9b–10a) and South Florida (10b–11) stay frost-free. Planting in August–September ensures roots establish 3–4 inches deep before potential stress, giving your lawn a 12–18 month head start over spring plantings.
The key? Soil temps above 70°F and consistent rainfall—both peak in late summer.
Here’s why late summer trumps spring: Spring plantings often compete with weeds for moisture, while fall plantings risk fungal growth from lingering humidity. Late summer’s shorter daylight also slows weed germination, letting Bahia grass outcompete invaders naturally. Plus, hurricane season typically winds down by September, reducing storm-related seed loss.
Florida’s late summer humidity (60–80%) creates the ideal environment for Bahia grass germination, but timing matters. Plant too early (July), and you’ll face weed competition from crabgrass. Plant too late (October), and cooler nights slow root growth.
Aim for August 15–September 15 to align with Florida’s peak rainfall and soil moisture—critical for seed-to-soil contact.
Pro tip: Use a soil thermometer to confirm temps. North Florida needs 70°F+ for 5+ days straight, while South Florida thrives at 80°F+. If temps dip below 65°F, germination stalls. Pair this with drip irrigation to avoid fungal issues from overhead watering during Florida’s afternoon humidity spikes.
Don’t overlook seed variety. ‘Pensacola’ Bahia (common type) germinates faster in 75–80°F soil, while ‘Argentine’ Bahia (coastal type) tolerates saltier soils but needs 78°F+. For North Florida, mix seeds with mycorrhizal fungi to boost root resilience against light frosts.
In Central/South Florida, focus on shade tolerance if planting near trees.
Watch for armadillo and raccoon activity—they’ll dig up fresh seedbeds. Use chicken wire temporarily or apply seed starter fertilizer (like 10-0-10) to deter pests. After planting, lightly rake to ensure seed-to-soil contact, then water deeply (1–1.5 inches) twice daily for the first week.
Reduce to daily deep watering once sprouts appear (7–14 days).
By late October, your Bahia grass should have 1–2 inch blades and 2–3 inch roots. In North Florida, mulch lightly with straw to protect against December frosts (rare but possible).
In South Florida, reduce watering to bi-weekly to prevent fungal growth. The late summer window isn’t just about timing—it’s about giving
Bahia grass seed planting checklist: step-by-step prep for Florida’s climate
Before you even think about spreading Bahia grass seed in Florida, proper prep is non-negotiable. Florida’s humid heat and sandy soils demand special attention to create the ideal conditions for germination. Skipping these steps often leads to patchy growth or seed failure—don’t let that happen to your lawn.
Start by selecting the right Bahia grass variety for your location. Coastal Bahia thrives in salty, sandy soils near the coast, while common Bahia handles inland conditions better. Check your yard’s exposure—coastal types need extra protection from salt spray if planted inland, and vice versa.
- ✅ Test soil pH (aim for 6.0–7.0; use lime to raise or sulfur to lower).
- ✅ Clear debris and loosen top 4–6 inches of soil with a rake or tiller.
- ✅ Add compost (2–3 inches) to improve soil structure and nutrients.
- ✅ Level the ground—Bahia grass hates low spots where water pools.
- ✅ Choose seed depth: Lightly press seeds ¼ inch deep—never bury them.
- ✅ Set up irrigation: Use drip lines (not sprinklers) to avoid washing seeds away.
- ✅ Protect from pests: Install chicken wire or plastic mesh to deter armadillos and raccoons.
Once your soil is prepped, focus on watering consistency. Bahia grass seeds need constant moisture for the first 3–4 weeks—think of it like a spa treatment for your lawn.
Use a drip irrigation system set to deliver ¼ inch of water daily at dawn. Sprinklers can create uneven coverage, leaving dry patches where seeds fail to germinate.
After germination, shift to deep, infrequent watering (1–1.5 inches per week) to encourage deep root growth. Florida’s summer heat can dry out seedlings fast, so monitor soil moisture with your finger—it should feel damp 2–3 inches deep.
If it’s dry, water immediately. Mulch with straw (not wood chips) to retain moisture and suppress weeds.
Watch for fungal threats like brown patch or dollar spot, which thrive in Florida’s humidity. If you spot yellowing patches or mushy grass, treat with a copper-based fungicide and improve airflow by mowing higher (2–3 inches) until the lawn recovers.
Prevention is key—avoid overhead watering at night to keep foliage dry.
Finally, resist the urge to fertilize until the grass is fully established (about 6–8 weeks). Use a slow-release fertilizer with low nitrogen (like 10-0-10) to avoid burning tender seedlings. Apply in early morning when dew is present to lock in moisture and nutrients.